Disqus comment box: Add Disqus in blogger

Adding these Disqus comment box in your Blog can make your Blog look good. Since blogger already has a comment area but it isn’t that cool. Even some wordpress blogs use these disqus comment boxes for their blogs to not get the over burden of comments data on their personal database.
Disqus allows anyone to comment whether as guest or by using their Facebook or other social media accounts. This will confirm their identification and all the data will be saved in Disqus portfolio but not in yours.
So here is a step by step guide to install disqus in your Blogger Blog:
Installing Disqus into Blogger
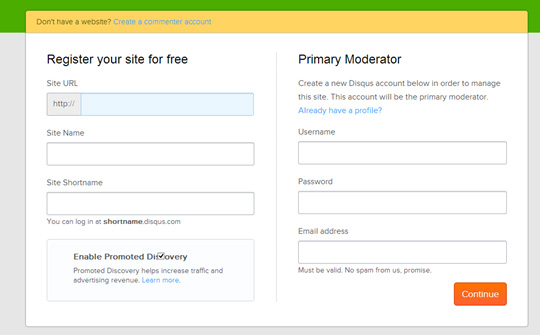
First you need to get your shortname for your blog, to do this visit disqus’s homepage.
There will be a Registration form, fill it and sign up
The next thing it will ask you will be about your Blogging platform(WordPress, tumblr, Blogger etc)
Choose Blogger,
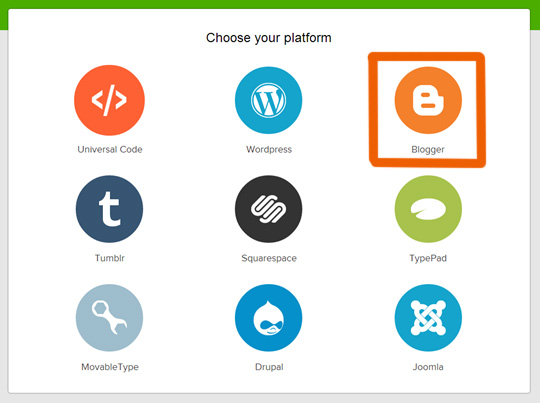
After choosing your platform you will move to another page where you can integrate that commenting system in your blog.
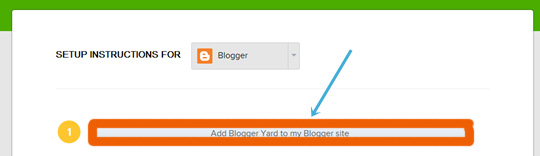
First we will get the form and the next part will be to transfer our old Blogger comments into the new Disqus comment Box.
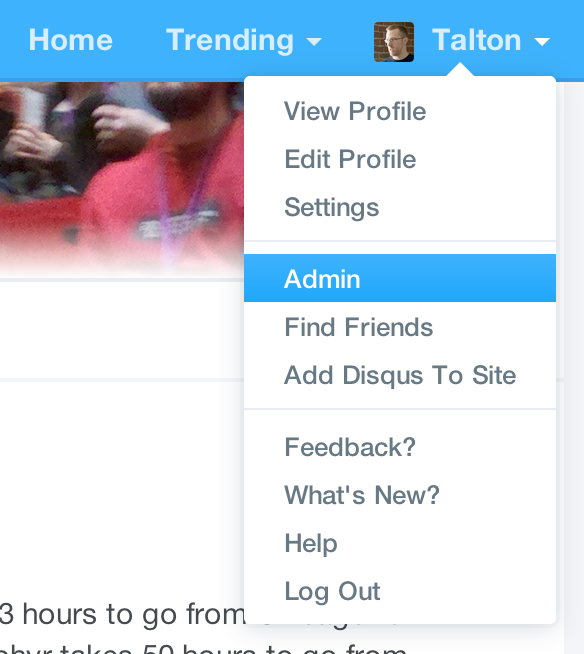
Click on “Add (Your Blog) To My Blogger Site” Button
Now you have to add the disqus to widget to your Blogger blog:
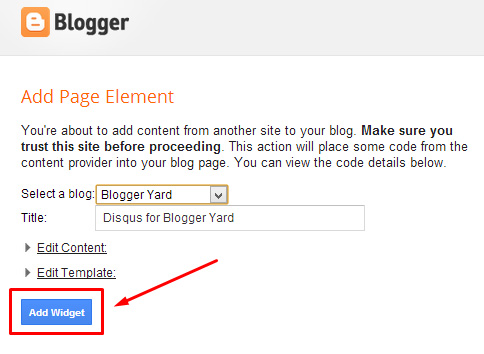
Now the whole widget is successfully installed on your Blogger Blog, the next part will be to transfer the old comments into the new Disqus Comment Box.
After doing all that your shortcode will be shown in the admin area.
Importing Old Comments
Go back to Disqus tab and there you see a tool that will help you to transfer your previous comments to the new disqus database.
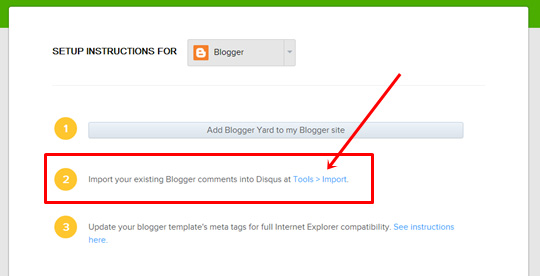
Click on Tools>Import button after which a new window should appear like this:
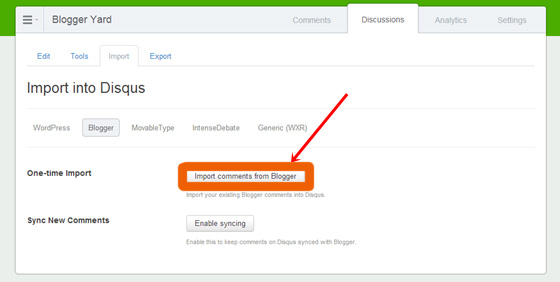
Click on Import comments from Blogger and grant the access to Disqus to integrate with your comments history which is saved in your Blogger database.

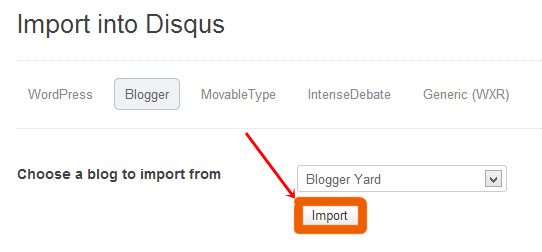
After allowing the access, choose your Blog on which you want to install Disqus comment box and click on import button to import all the comments from Blogger database to Disqus database.
Installing Disqus through HTML codes
One another way to install disqus comment box on your Blogger blog is by using HTML codes on your Blog. Here is a step by step guide to install Disqus comment box in your Blog by using some HTML codes.
Add a new Gadget
First you have to login to your Blogger account and directly advance towards Layout area.
Blogger–>Select Your Blog–>Layout
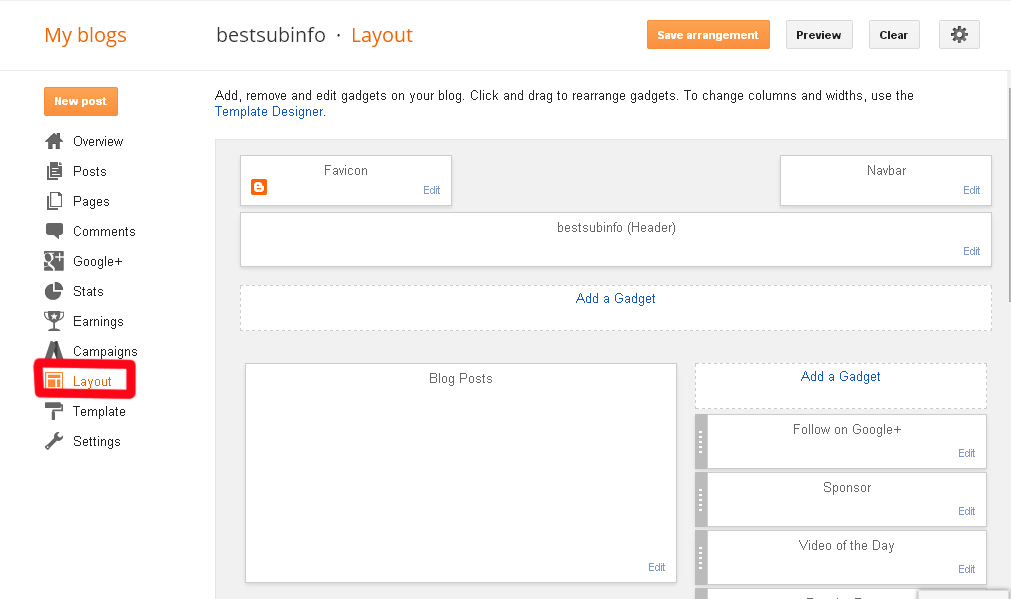
Now click on Add a Gadget in sidebar.
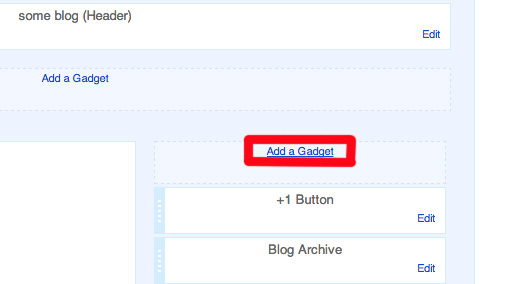
After clicking on it a new Pop up will appear, you should select HTML/Javascript gadget and then click on + button.

Your new gadget’s title should be Disqus and add this code in the content area:

For your ease I am writing this code below so that you guys can just copy this code and paste it to your gadget content :
<!– Disqus comments gadget –>
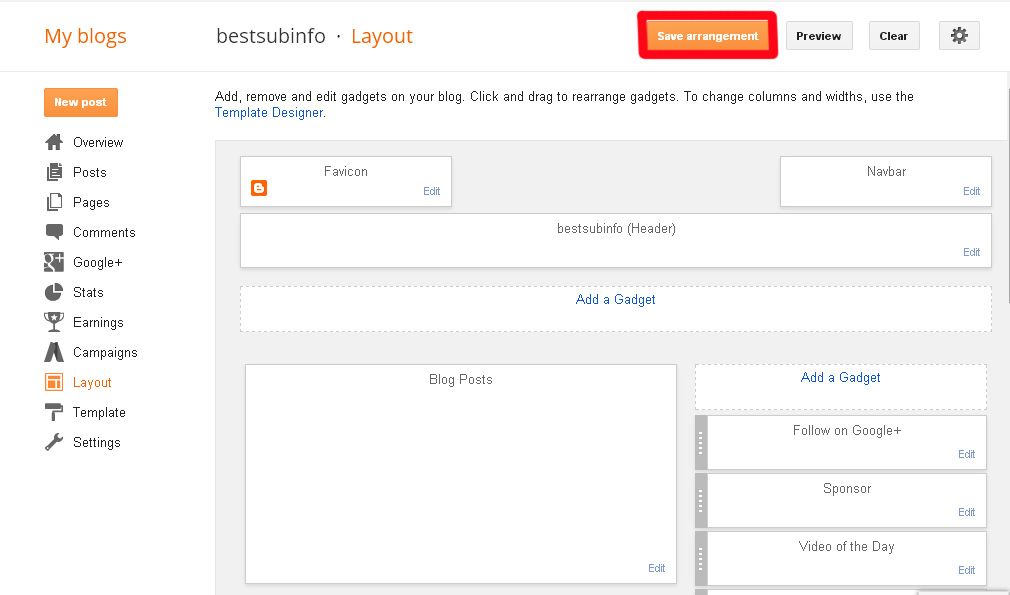
Now click save and the window will disappear shortly.
Now click on Save arrangements in the layout viewer.
The next step will be to add the disqus code to your template.
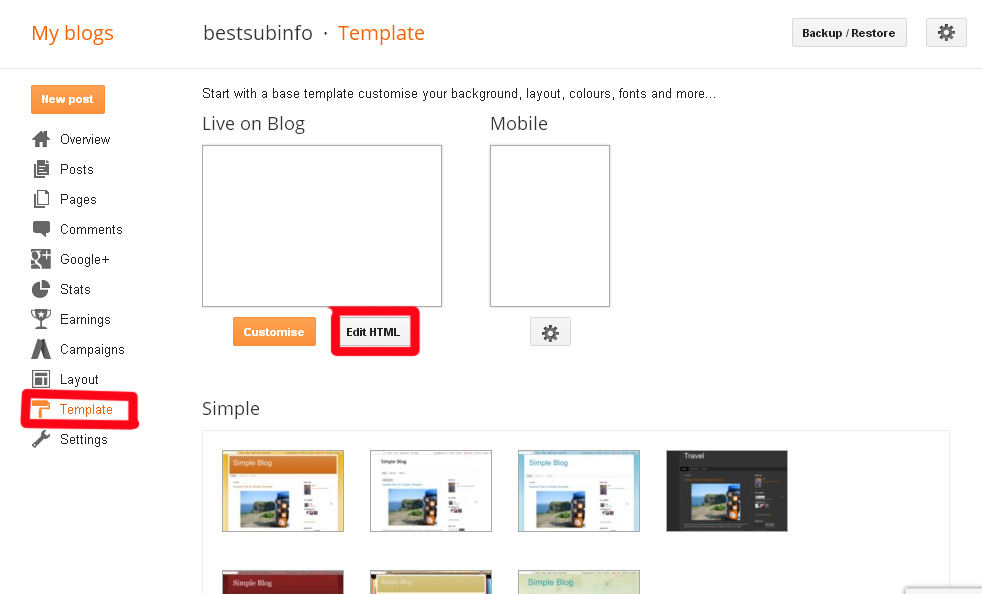
Adding Disqus code in your Blogger template
Fist step should be to reach out your blog’s template section and then click on “Edit HTML” button
Click inside the text area and search for the Disqus widget which you have just created recently, For this use Ctrl-F then type Disqus and press enter. You should find the following code:

For your ease I am typing this line below:
[php]<b:widget id=’HTML1′ locked=’false’ title=’Disqus’ type=’HTML’>[/php]
Add mobile=’yes’ to your code to load your Disqus comment box in your mobile friendly template too. After editing your code should look like this:
[php]<b:widget id=’HTML1′ locked=’false’ <strong>mobile=’yes'</strong> title=’Disqus’ type=’HTML’>[/php]
Below this code try to find and delete the following code as shown below before the the closing tag. The code paragraph which we are going to delete should look like this:

Once its deleted the next part will be to add a new code in replacement of the previous one. Just before the closing of </b:widget> tag, add the following Disqus code:

For your ease the code is written below:
[php]<b:includable id=’main’> </span>
<span style="color: #0000ff;"> <script type=’text/javascript’> </span>
<span style="color: #0000ff;"> var disqus_shortname = '<span style="color: #ff0000;">EXAMPLE</span>'; </span>
<span style="color: #0000ff;"> var disqus_blogger_current_url = "<data:blog.canonicalUrl/>";</span>
<span style="color: #0000ff;">if (!disqus_blogger_current_url.length) { disqus_blogger_current_url = "<data:blog.url/>"; } var disqus_blogger_homepage_url = "<data:blog.homepageUrl/>"; var disqus_blogger_canonical_homepage_url = "<data:blog.canonicalHomepageUrl/>"; </script> <b:if cond=’data:blog.pageType == "item"’> <style type=’text/css’> #comments {display:none;} </style> <script type=’text/javascript’> (function() { var bloggerjs = document.createElement('script'); bloggerjs.type = 'text/javascript'; bloggerjs.async = true; bloggerjs.src = '//'+disqus_shortname+'.disqus.com/blogger_item.js'; (document.getElementsByTagName('head')[0] || document.getElementsByTagName('body')[0]).appendChild(bloggerjs); })(); </script> </b:if> <style type=’text/css’> .post-comment-link { visibility: hidden; } </style> <script type=’text/javascript’> (function() { var bloggerjs = document.createElement('script'); bloggerjs.type = 'text/javascript'; bloggerjs.async = true; bloggerjs.src = 'http://'+disqus_shortname+'.disqus.com/blogger_index.js'; (document.getElementsByTagName('head')[0] || document.getElementsByTagName('body')[0]).appendChild(bloggerjs); })(); </script> </b:includable>[/php]
Make sure that you replace “Example” with your forum shortname and leave ‘'’ before and after it.
To get your Blog’s shortname follow the instructions which I gave earlier.
After doing all this, click on save template. Assuming that there were no errors disqus will show properly on your blogger blog.
Conclusion
If you have any other queries about the tutorial then let me know by leaving a comment in the comment area.
I hope this tutorial will help everyone of you to install Disqus comment box in blogger.
Related Posts


About The Author
Hasnain Haider Abbas
Hasnain Haider Abbas is a 25 years old web entrepreneur and founder of Articlesteller.com. In the early stage of his life, he fell in love with technology, His expertise is in SEO, Content writing, Social Media, Affiliate Marketing, Web development, and Business promotion.
it is a very helpful article for us. i have gained now a new info about it. thank you so much for your brilliant effort.
Its a nice article. Thanks for sharing your valuable experience………
I am really thankful to you for your informative article, Thanks for sharing. it’s really helpful for me. Hope you will continue and we will many more article. Wish you all the best.
Great tutorial, Hasnain Haider Abbas. You’ve shown very easy step by step procedures, and even best ways to integrate Disqus comment with blogger account.
Thanks dear ,it’s so simple and helpful. Loved the article.
Keep up